

Last Updated: October 26, 2026
Quick Summary
You can upgrade rental kitchen cabinets by swapping hardware, applying removable adhesive film, using peel-and-stick contact paper, adding under-cabinet lighting, and removing doors to create open shelving. Most of these changes are reversible, take a weekend or less, and require no permanent alterations to your rental.
- Swap cabinet knobs and pulls in finishes like brushed gold or matte black for instant modernization.
- Test removable adhesive film on an inconspicuous spot for 48 hours before full application to ensure safe removal.
- Remove cabinet doors to create open shelving and style with matching dishware and decorative accents.
- Install adhesive-backed LED strip lights or battery-powered puck lights under cabinets for added brightness and ambiance.
- Avoid applying film near the stove or sink where heat and moisture can loosen adhesive and cause curling.
Table of Contents
- Why Rental Kitchen Cabinets Deserve an Upgrade
- Swap Out Removable Cabinet Hardware for Instant Impact
- How to Update Kitchen Cabinets Without Painting
- Using Peel-and-Stick Contact Paper for Cabinets
- Add Visual Interest with Under-Cabinet Lighting
- Create Open Shelving and Styling Opportunities
- Complete Your Kitchen Refresh with Finishing Touches
- Frequently Asked Questions
Why Rental Kitchen Cabinets Deserve an Upgrade
Your rental kitchen doesn't have to feel like a temporary space. Even with lease restrictions, you can transform your cabinets into a stylish focal point that makes your kitchen feel like home. The good news: there are affordable ways to upgrade rental kitchen cabinets without permanent changes.
At The Finishing Touch Decor, LLC, we believe renters deserve beautiful spaces too. Practical strategies can help refresh your kitchen. Most of these upgrades take a weekend or less.
The key is focusing on removable, reversible changes. Swap hardware, add contact paper, install temporary lighting, or style open shelves. Each approach can give your cabinets a fresh look.
Swap Out Removable Cabinet Hardware for Instant Impact
Replacing cabinet knobs, handles, and pulls is one way to upgrade rental kitchen cabinets. This change can alter how your kitchen looks and feels.
Here's why hardware matters: cabinet hardware is the jewelry of your kitchen. New knobs or pulls instantly modernize dated cabinets. The best part? You can remove the old hardware, store it, and reinstall the originals when you move.
Steps to swap your cabinet hardware:
- Remove one piece of old hardware using a screwdriver (usually Phillips or flathead)
- Keep the old hardware in a labeled bag for reinstallation later
- Insert the new knob or pull through the existing hole
- Tighten the screw from inside the cabinet using a screwdriver
- Repeat for all cabinet doors and drawers
Look for hardware in finishes that match your aesthetic: brushed gold, matte black, chrome, or ceramic. The right finish can make cabinets feel modern, coastal, or French Country, whatever style speaks to you.
How to Update Kitchen Cabinets Without Painting
If you want to upgrade rental kitchen cabinets without painting, removable adhesive film is one option. Results can depend on the cabinet surface and preparation.
Match the film to your cabinet material and condition:
- Laminate and thermofoil: These smooth, non-porous surfaces are the best candidates for removable film. Wipe with a degreaser, then test a small strip on the back of a door for 48 hours before committing.
- Painted wood or MDF: Film adheres well if the paint is intact and not peeling. Avoid doors with chipping paint or exposed edges; film can lift those flakes on removal.
- Veneer: Check for loose edges and bubbles first. Film can bridge small imperfections, but lifting veneer will come off with the film.
- Damaged or greasy finishes: Degrease with a kitchen cleaner, then wipe with a damp cloth and dry fully. Skip doors with active grease buildup near the stove until cleaned.
- Flat slab doors: Easiest to wrap. Shaker and raised-panel doors: Workable, but you must press film into the recessed panel and trim carefully at the inner edges.
Lease-safe testing and removal:
Before covering a full kitchen, apply a 6-inch square of film to an inconspicuous spot, such as the inside of a cabinet door or the back of a drawer front. Wait 48 hours, then peel it back slowly at a low angle. If the finish lifts, the film is not safe for those cabinets. When you are ready to remove film at move-out, warm it with a hair dryer on low to soften the adhesive, peel slowly, and wipe away residue with a cloth dampened with rubbing alcohol.
Where film performs poorly:
Avoid film on cabinet doors directly beside the stove or under the sink, where heat and moisture can loosen adhesive and cause curling. If you want a continuous look, use film on upper doors away from the range and leave the doors nearest the stove in their original finish.
Cost and time context:
Why film works for renters:
- No paint fumes, drying time, or sanding
- Removable at move-out when tested and removed properly
- Lower cost than painting or refacing
- Instant visual change without permanent alteration
- Wipeable surface for everyday cleaning
Removable adhesive film works best on certain cabinet surfaces and requires proper preparation and testing before full application.
| Cabinet Material | Best for Film | Key Consideration |
|---|---|---|
| Laminate and thermofoil | Yes | Smooth, non-porous surfaces; test 48 hours first |
| Painted wood or MDF | Yes if intact | Avoid doors with chipping paint or peeling |
| Veneer | Caution | Check for loose edges; film lifts loose veneer |
| Flat slab doors | Excellent | Easiest to wrap cleanly |
| Shaker and raised-panel doors | Workable | Requires careful pressing and trimming |
| Near stove or sink | No | Heat and moisture loosen adhesive and cause curling |
Using Peel-and-Stick Contact Paper for Cabinets
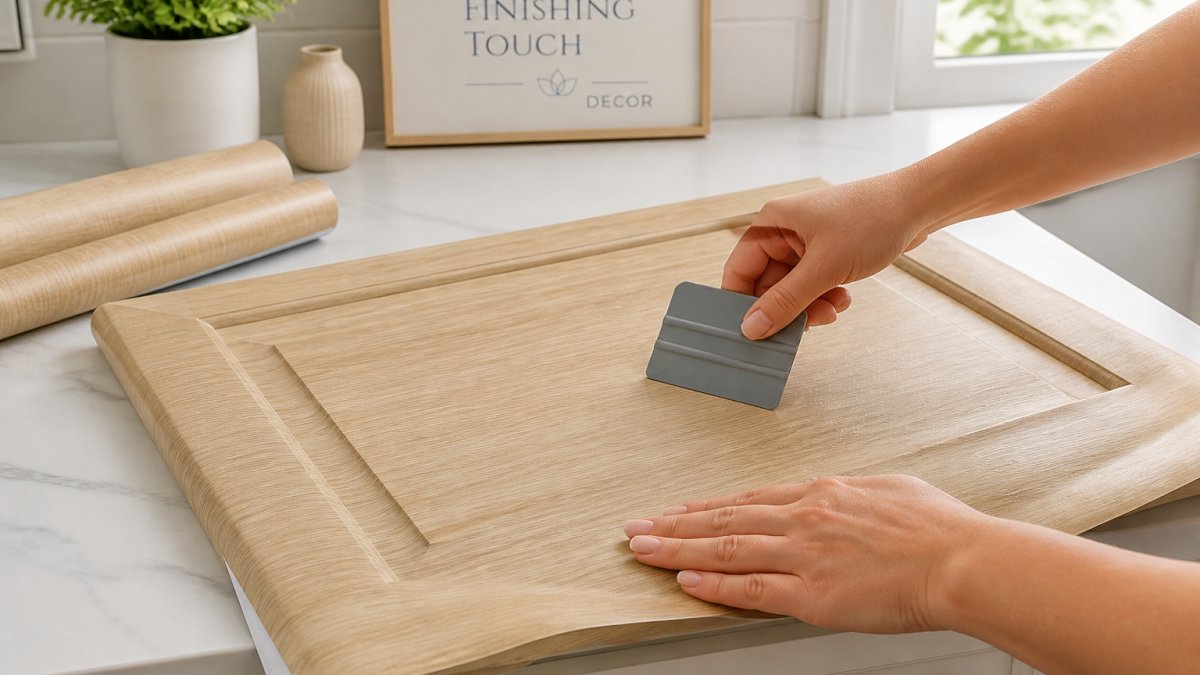
Peel-and-stick contact paper is one visual upgrade option for rental cabinets.
Tools and materials:
- Removable peel-and-stick film
- Degreasing kitchen cleaner
- Measuring tape and pencil
- Utility knife with a fresh blade
- Plastic scraper or credit card wrapped in a soft cloth
- Hair dryer for edges and removal
Step-by-step installation:
- Remove the cabinet door from its hinges if possible; flat work is easier and cleaner than working overhead.
- Clean the door front with a degreasing cleaner, then wipe with a damp cloth and let it dry completely.
- Measure the door and add 1 inch to the width and height so you have trim allowance.
- Cut the film slightly larger than the door.
- Peel back a few inches of backing and align the film along the top edge, pressing it down with your hand.
- Smooth downward from the center outward with a plastic scraper to push air ahead of the film.
- Trim excess film with a utility knife held at a slight angle against the door edge.
- Warm edges with a hair dryer on low and press firmly to seal them around the door.
Troubleshooting common problems:
- Bubbles: Small bubbles often work out with continued smoothing. For stubborn bubbles, prick them with a pin and press flat.
- Curling corners: Warm the corner with a hair dryer and press for 30 seconds. If it still lifts, the surface may be too greasy or the film may be too stiff for that door.
- Misalignment: Peel back slowly and reposition while the film is still warm; once the adhesive grabs fully, repositioning becomes difficult.
- Edges catching on hands: Trim flush and burnish edges with the back of a spoon.
Durability and cleaning expectations:
Film holds up well on upper cabinets away from heat and moisture. Near the stove, steam and grease can loosen edges over time, so plan to reseal or replace those panels. Clean film with a damp cloth and mild dish soap; avoid abrasive scrubbers and harsh solvents that can dull the surface. Matte and textured films hide fingerprints and wear better than glossy finishes.
Removal at move-out:
Cost and time:
Add Visual Interest with Under-Cabinet Lighting
Under-cabinet lighting is one option for rental kitchens. LED strip lights and puck lights can add ambiance.
Under-cabinet lighting can add brightness and draw attention to cabinet upgrades.
Types of rental-friendly under-cabinet lighting:
- LED strip lights: Adhesive-backed, plug into standard outlets, come in warm or cool tones
- Battery-powered puck lights: No wiring needed, stick to cabinet undersides, wireless
- Plug-in linear lights: Connect to under-cabinet power strips, professional appearance
Installation is simple. Clean the cabinet underside, peel the adhesive backing, and press the lights into place. Route the cord along the back of the cabinet or down to a nearby outlet. Battery-powered lights require no cord management at all.
page:1 for renter-friendly lighting ideas that work throughout your apartment.
Create Open Shelving and Styling Opportunities
Removing cabinet doors can create open shelving for displaying dishes, glasses, and decor.
Open shelves expose their contents. Group similar items together, use matching dishware, and add decorative accents.
How to remove cabinet doors:
- Open the door fully and locate the hinges on the inside edge
- Remove hinge screws using a screwdriver (usually 2-3 screws per hinge)
- Lift the door straight up and away from the cabinet frame
- Store doors and hardware in a safe place for reinstallation when you move
Once doors are off, style your shelves. Arrange plates vertically or in stacks. Add small vases, candles, or books between dishware. The mix of functional items and decor makes open shelving feel intentional, not sparse.
Complete Your Kitchen Refresh with Finishing Touches
The final step in upgrading rental kitchen cabinets is adding finishing touches that tie everything together. These details transform your kitchen from functional to fabulous.
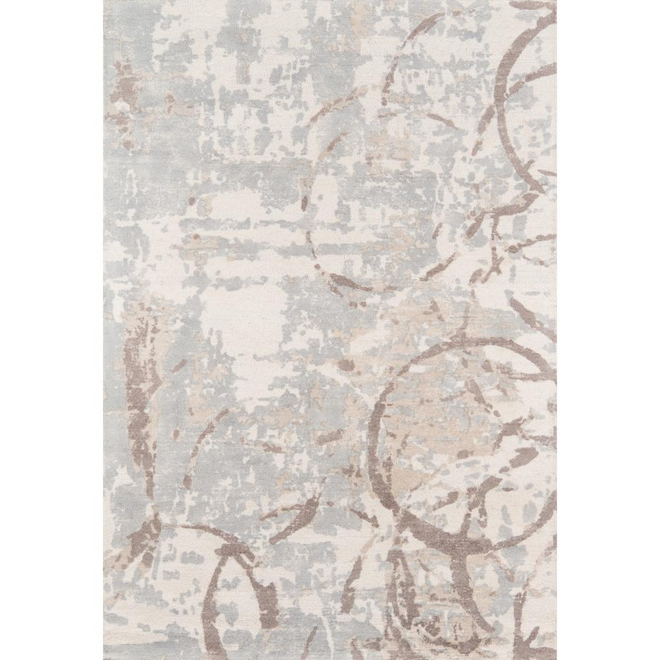
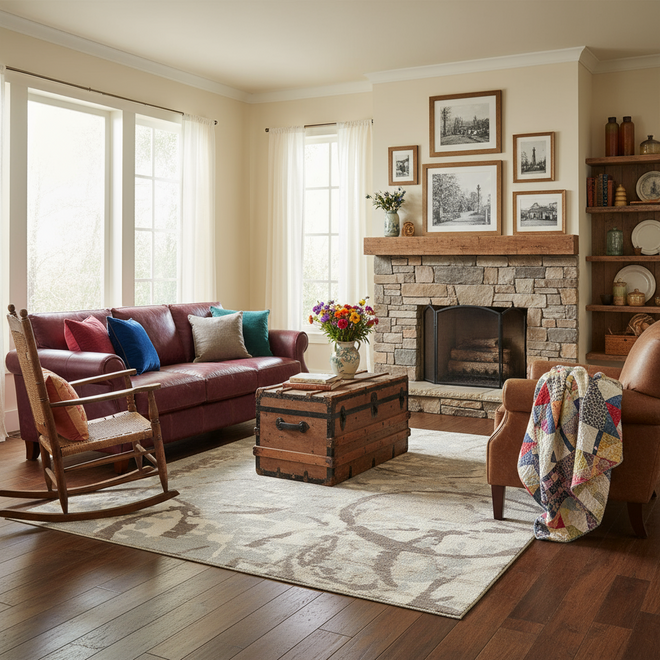
Add an area rug in front of your sink or stove. A runner rug can introduce color or pattern.
Swap out kitchen textiles: dish towels, pot holders, and oven mitts in coordinating colors or patterns. Hang a shelf above your cabinets and style it with cookbooks, plants, or decorative objects.
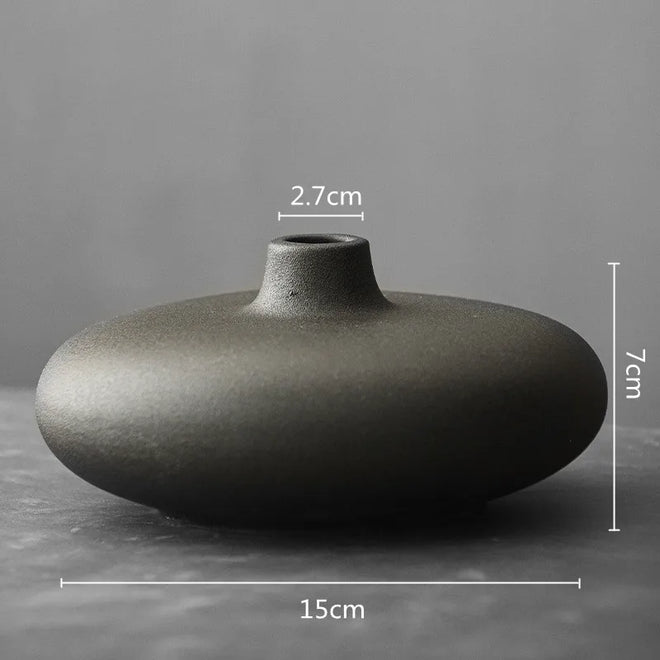
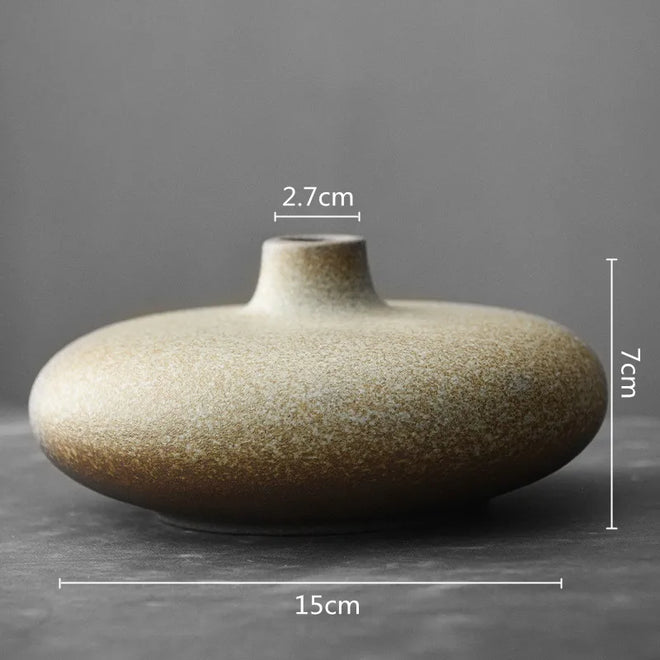
Consider adding a small vase, candle, or plant to your open shelves or countertop. These accents can add personality. The Finishing Touch Decor offers curated decor pieces in French Country, Coastal, Bohemian, and Contemporary styles.
page:2 to explore budget-friendly styling hacks that complete your kitchen refresh.
Wall art is another addition. Hang a framed print or canvas above your countertop or on an empty wall.
Finishing touches can be changed as your style evolves or your lease ends.
Frequently Asked Questions
Can I use peel-and-stick contact paper on rental kitchen cabinets without damaging them?
Peel-and-stick contact paper is one option for rental kitchen cabinets. Consider testing it on a small, inconspicuous area before applying it more broadly.
What is the least expensive way to update kitchen cabinets as a renter?
Swapping cabinet hardware, using peel-and-stick contact paper, and adding under-cabinet lighting are options to consider. Check current product details and prices before choosing.
How do I make mismatched rental kitchen cabinets look more cohesive?
Matching hardware, a consistent color or pattern, under-cabinet lighting, and decorative accents are options to consider when styling mismatched cabinets.
Will temporary cabinet upgrades hold up to daily kitchen use?
Product performance and care instructions vary. Check the product details and follow the care instructions for each item.
Upgrading rental kitchen cabinets is entirely possible on a budget. Start with hardware swaps and contact paper, add lighting for ambiance, and style with finishing touches. Each step is reversible, affordable, and achievable in a weekend. Your rental kitchen can feel like home, without compromising your security deposit.